The ATM
Setting up an ATM
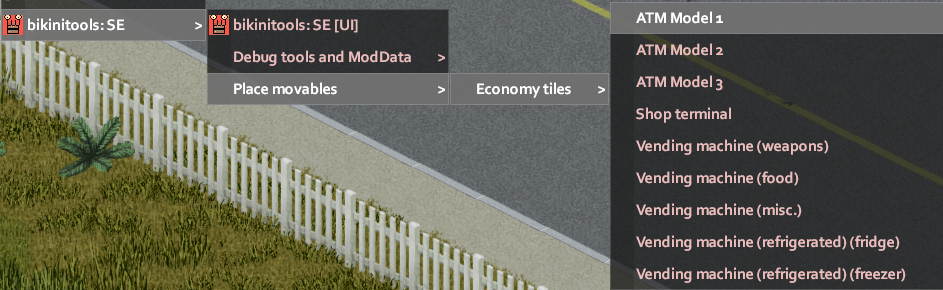
Placing a new ATM
Once an ATM is placed, you can then update the firmware by right clicking on the ATM and choosing Firmware update.
By default you’ll see the following menu. These are the default settings for every ATM placed.
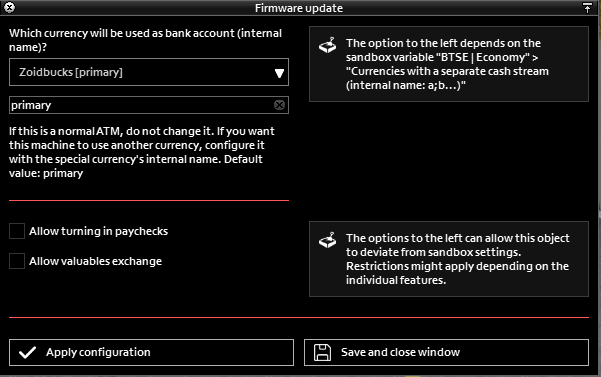
As with most settings screens Apply will apply the configuration without closing the window, save and close will save and close.
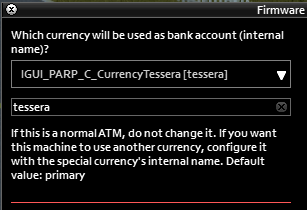
Each ATM handles its own currency, by default that’s primary. If you want an ATM to handle a different currency you change it in the drop down.
Note: A currency must exist before it is available in the drop down, we’ll discuss this later.
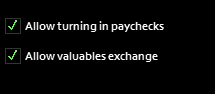
The two check boxes will make an ATM available to perform these tasks.
Note: The above settings are ignored if you have any of the below global sandbox options checked.
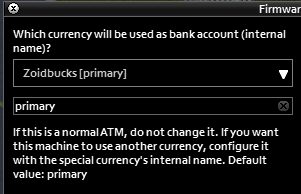
An example of a secondary currency using our tessera currency.
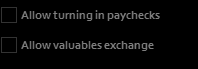
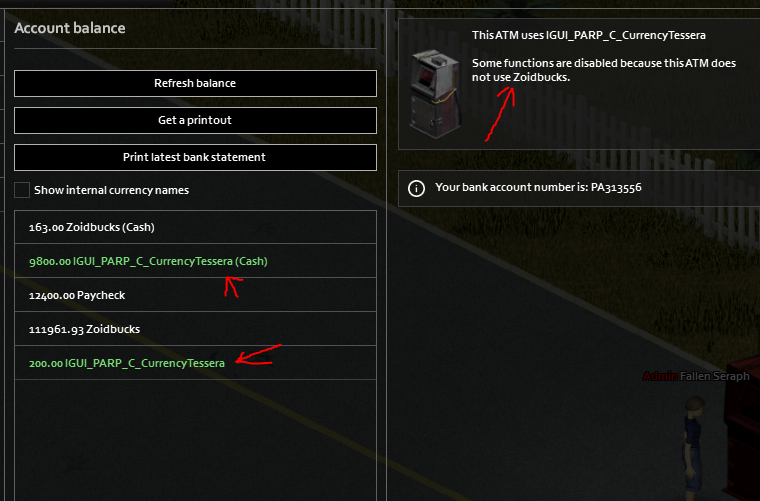
Note: Using a non-primary currency then disables this ATM from turning in paychecks or allowing valuable exchanges because those only return the primary currency.
Functions in the UI that require an ATM will have a label stating such.

Things to Note
If you have multiple currencies you will need an ATM for each currency. Example below using our tessera currency.
The system will do its best to select the closest ATM and will remain locked on that one until the player travels out of the max tile range (second screenshot below). It’s best in most cases to space ATMs out slightly.
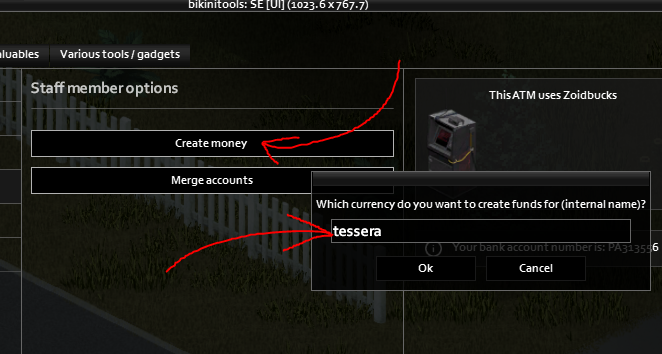
Creating new currency
- Create an ATM and leave the firmware default.
- Open the UI -> Money -> Staff member options
- Specify the new currency internal name
- Create any amount greater than 0
- ATMs can now be set as that currency since it exists.